Master The Perfect Boiled Eggs Time: Your Ultimate Guide
Achieving the perfect boiled egg is more than just dropping an egg into hot water; it's an art form, a science, and crucially, a matter of precise timing. Whether you crave a runny yolk that cascades over toast, a jammy center for a delightful snack, or a firm, fully cooked yolk ideal for deviled eggs or salads, mastering the exact **boiled eggs time** is your secret weapon. This comprehensive guide will demystify the process, ensuring you get consistent, delicious results every single time, transforming your kitchen endeavors from guesswork to guaranteed success.
Boiled eggs are a versatile staple, serving as a quick, protein-packed breakfast, a healthy snack, or a key ingredient in countless recipes. Yet, many home cooks struggle to consistently achieve their desired doneness, often ending up with undercooked whites or rubbery, overcooked yolks. This article will equip you with the knowledge, tips, and precise timings needed to conquer the humble egg, turning it into a culinary triumph.
Table of Contents
- Why Boiled Eggs Time Matters for Perfection and Safety
- Understanding Different Boiled Egg Doneness Levels
- The Foolproof Method for Perfect Boiled Eggs Every Time
- Essential Tips and Tricks for Boiled Eggs Success
- Boiled Eggs Time Chart: Your Quick Reference
- Beyond the Stovetop: Alternative Boiled Egg Methods
- Storing and Using Your Perfectly Boiled Eggs
- Troubleshooting Common Boiled Egg Issues
Why Boiled Eggs Time Matters for Perfection and Safety
The precise duration an egg spends in hot water is the single most critical factor determining its final texture. From the moment an egg enters the pot, a delicate transformation begins. The proteins in the egg white coagulate first, followed by the yolk. The longer the egg remains in the heat, the firmer both the white and yolk become. Understanding this fundamental principle is key to achieving your desired doneness.
Beyond texture, **boiled eggs time** is also paramount for food safety. While rare, eggs can carry bacteria like Salmonella. Proper cooking, ensuring the whites and yolks are fully set (especially for hard-boiled eggs), eliminates these risks, making your culinary creations not only delicious but also safe to consume. This dual importance of timing – for both culinary perfection and health – underscores why it's a topic worth mastering.
Understanding Different Boiled Egg Doneness Levels
Before we dive into specific timings, let's clarify what each level of doneness means for your boiled eggs, helping you decide exactly what you're aiming for.
Soft-Boiled Eggs: Runny Yolks, Creamy Whites
The epitome of breakfast elegance, soft-boiled eggs feature whites that are just set – firm enough to hold their shape but still tender – while the yolks remain wonderfully runny and creamy. This is the ideal choice for dipping toast soldiers or drizzling over salads. Achieving this delicate balance requires careful attention to **boiled eggs time**.
Medium-Boiled Eggs: Jammy Centers
Often referred to as "jammy" or "custardy," medium-boiled eggs offer a delightful compromise. The whites are fully set, and the yolks are firm around the edges but boast a luscious, thick, almost spreadable consistency in the center. This texture is fantastic for avocado toast, ramen, or simply enjoyed on its own. For medium eggs, around 9 minutes will generally yield a slightly soft center, providing that sought-after jammy texture.
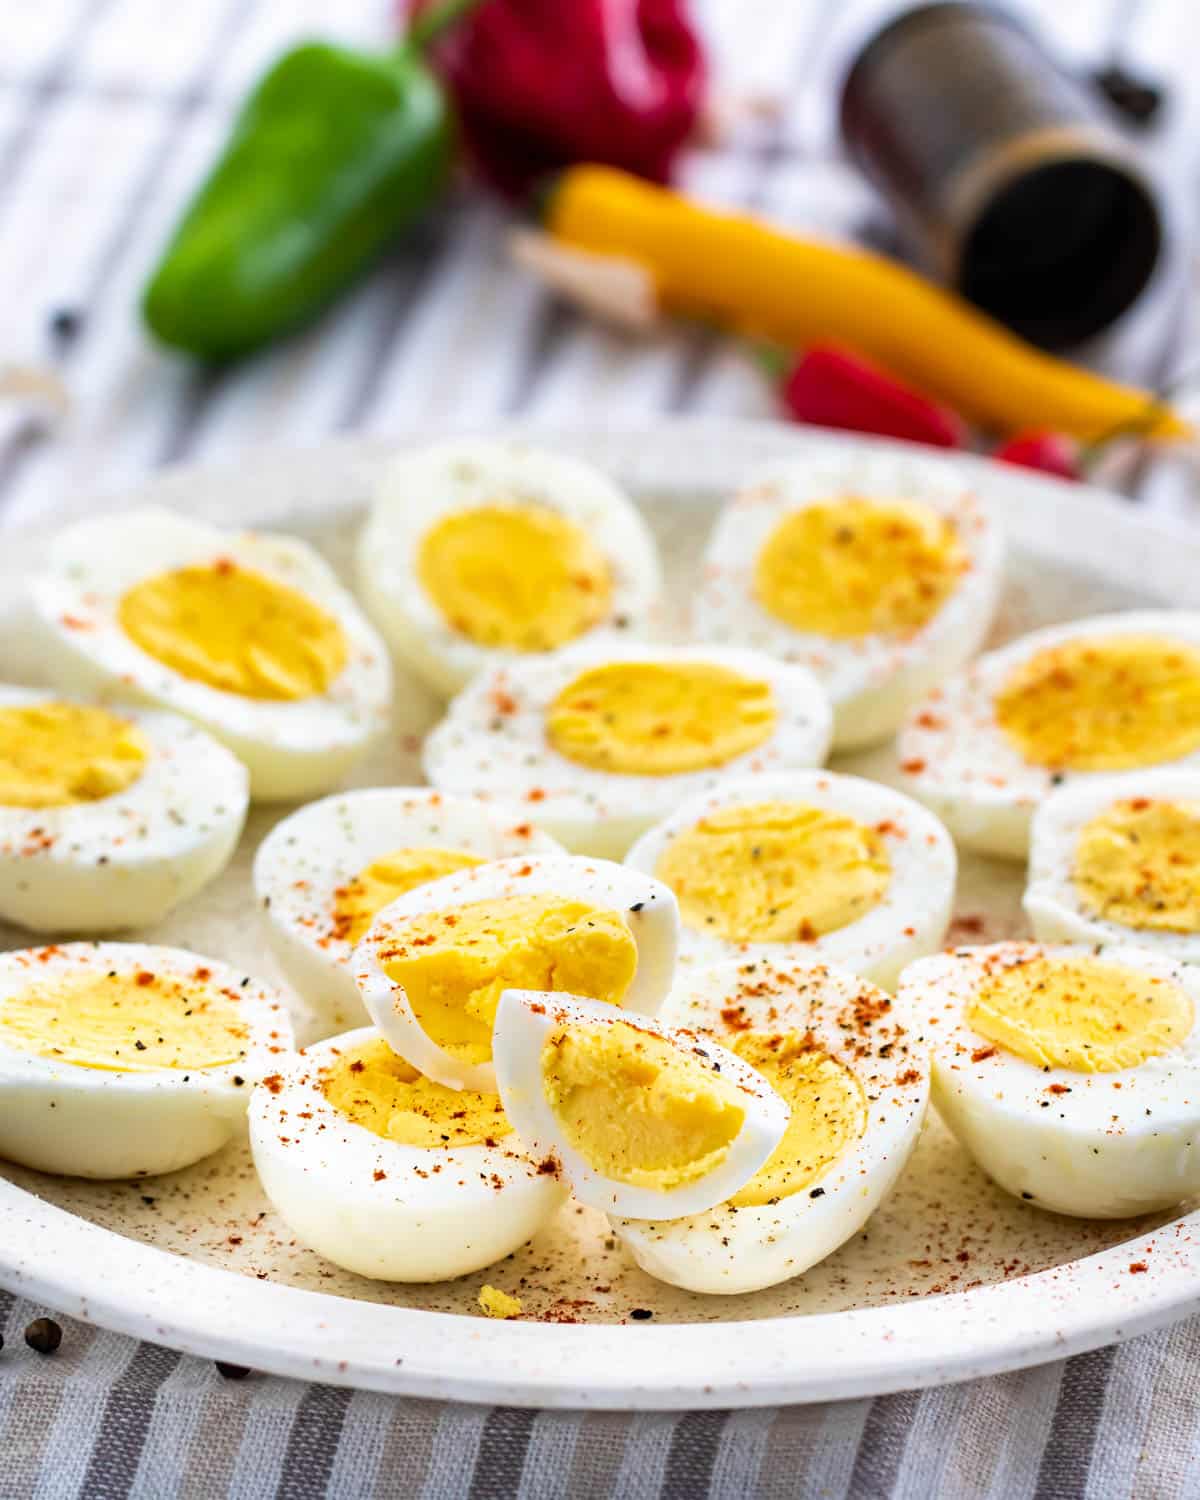
Hard-Boiled Eggs: Firm and Fully Cooked
The workhorse of the egg world, hard-boiled eggs are characterized by fully set whites and yolks. The yolk is set and only ever so slightly tender, making them perfect for slicing, chopping, or mashing. Whether you're making egg salad, deviled eggs, or just need a healthy snack, a perfectly hard-boiled egg is indispensable. The best way to cook hard-boiled eggs is very simple and it promises consistent results, perfect every time. The yolks are fully set around 11 minutes (which many prefer) but become lighter and more crumbly if cooked slightly longer, such as 12 minutes, which will give you a fully cooked yolk with a crumbly texture.
The Foolproof Method for Perfect Boiled Eggs Every Time
There are primarily two widely accepted methods for boiling eggs: the hot start and the cold start. Both can yield perfect results, but understanding their nuances is key to selecting the one that best suits your needs and kitchen habits.
The Hot Start Method: Precision and Control
The hot start method involves bringing water to a rolling boil *before* adding the eggs. This method offers excellent control over the cooking time, as the eggs begin cooking immediately upon entering the hot water. It's often preferred for achieving precise levels of doneness, especially for soft or medium-boiled eggs.
Here’s the step-by-step process:
- Prepare the Pot: Bring a large pot of water to a full, rolling boil. Ensure there's enough water to completely cover the eggs. For 6 eggs, they should be covered by at least an inch; for 7 to 12 eggs, aim for 2 inches of water over them.
- Add Eggs Carefully: Gently lower your eggs into the boiling water using a slotted spoon. This prevents cracking. If adding multiple eggs, do so one by one to avoid sudden temperature drops.
- Adjust Heat and Start Timer: Once all eggs are in, lower the heat slightly so the water is at a gentle, rolling boil – not a violent one, which can cause cracking. Start the timer immediately after the water starts boiling again.
- Cook to Desired Doneness: Refer to our **boiled eggs time** chart below for specific durations. The time you need to boil the eggs depends on how cooked you like them to be.
- Ice Bath: As soon as the timer goes off, transfer the eggs to an ice bath (a bowl of ice water). This immediately stops the cooking process, preventing overcooking and making them easier to peel. Let them sit for at least 5-10 minutes.
The Cold Start Method: Simplicity and Consistency
The cold start method involves placing eggs in a pot of cold water, bringing it to a boil, and then either simmering or removing from heat to let the eggs sit. This method is often touted for minimizing cracking and offering consistent results, especially for hard-boiled eggs. Many recommended timings, including those for a hard boiled eggs time chart, are based on this method.
Here’s how to execute it:
- Place Eggs in Pot: Gently place your eggs in a single layer at the bottom of a pot.
- Cover with Cold Water: Add enough cold water to cover the eggs by at least an inch (or 2 inches for larger quantities like 7-12 eggs).
- Bring to a Boil: Place the pot on high heat and bring the water to a full, rolling boil.
- Remove from Heat & Cover: As soon as the water reaches a full boil, remove the pot from the heat immediately. Cover the pot tightly with a lid.
- Let Sit: Let the eggs sit in the hot water for the recommended time. For hard boiled eggs, perfect for making deviled eggs, let them sit for 12 minutes. For boiled eggs with a runny yolk, let them stand in the water for 90 seconds to two minutes. For boiled eggs with a jammy center, let them sit for between one minute and 45 seconds and two minutes and 15 seconds.
- Ice Bath: Transfer the eggs to an ice bath for at least 5-10 minutes to stop cooking and facilitate peeling.
Essential Tips and Tricks for Boiled Eggs Success
Beyond precise **boiled eggs time**, a few simple techniques can significantly improve your results, from preventing cracks to ensuring effortless peeling.
- Room Temperature Eggs: Start with eggs that are at room temperature to best predict the cooking time and minimize cracking. Cold eggs are more prone to cracking when introduced to hot water. If you're using eggs straight from the fridge, consider adding an extra minute to the cooking time.
- Preventing Cracks: A common frustration is eggs cracking during boiling. Besides using room temperature eggs, adding a teaspoon of vinegar to the water may help keep egg whites from running out if an egg does crack while cooking. Salt can also help seal minor cracks.
- Water Level: Ensure your eggs are adequately covered. As mentioned, the more eggs that are crowding the pan, the more water you should have over the eggs. A good rule of thumb is at least an inch for up to 6 eggs, and 2 inches for 7 to 12 eggs.
- Gentle Boil: For the hot start method, once eggs are added, reduce the heat to a gentle boil rather than a vigorous one. This prevents the eggs from bouncing around and cracking against each other or the pot.
- The Ice Bath is Non-Negotiable: Immediately transferring eggs to an ice bath after cooking is crucial. It halts the cooking process, preventing the dreaded green-gray ring around the yolk (a sign of overcooking due to sulfur and iron reacting). More importantly, the rapid cooling causes the egg white to contract, separating it from the shell membrane, which makes peeling significantly easier.
- Peeling Made Easy: Once cooled in the ice bath, crack the egg all over by gently tapping it on a hard surface. Roll the egg between your hands to loosen the shell further. Peel under cold running water or submerged in water; the water helps to get under the membrane and wash away small shell fragments.
Boiled Eggs Time Chart: Your Quick Reference
Here's a handy **boiled eggs time** chart to guide you, based on average medium to large egg sizes and using the hot start method (timer starts when water returns to a gentle boil after adding eggs):
| Desired Doneness | Boiling Time (Hot Start) | Yolk Description |
|---|---|---|
| Soft-Boiled | 5-6 minutes | Runny and creamy, whites just set. (This cooking time allows the whites to set while keeping the yolks runny and creamy.) |
| Medium-Boiled | 8-9 minutes | Jammy, slightly soft center, fully set whites. (8 minutes for perfect boiled eggs, 9 minutes will generally yield a slightly soft center.) |
| Hard-Boiled | 10-12 minutes | Firm and fully cooked. (10 minutes for a firmer texture, 11 minutes for a preferred fully set yolk, 12 minutes for a fully cooked yolk with a crumbly texture.) |
These times are general guidelines, and slight adjustments may be needed based on your stove's heat, altitude, and personal preference. The longer they stay in boiling water, the firmer they’ll become. In general, the best boiled eggs take anywhere between 5 to 12 minutes.
Beyond the Stovetop: Alternative Boiled Egg Methods
While stovetop boiling is classic, you can also boil eggs without a stovetop using appliances like an air fryer, Instant Pot, microwave, or oven. These methods offer convenience and can be great alternatives, especially when stovetop space is limited.
- Air Fryer: Place eggs directly in the air fryer basket. Cook at 250-275°F (120-135°C) for 13-17 minutes, depending on desired doneness. Immediately transfer to an ice bath.
- Instant Pot (Pressure Cooker): Place a steamer rack in the Instant Pot, add 1 cup of water, and arrange eggs on the rack. Cook on high pressure for 3-6 minutes (depending on doneness), then quick release and transfer to an ice bath. This is a very popular method for easy-to-peel eggs.
- Microwave: While possible, this method is generally not recommended due to the risk of eggs exploding. If attempting, pierce the bottom of the egg with a pin, place in a bowl of water, and microwave in short bursts. Exercise extreme caution.
- Oven: Place eggs in a muffin tin (to prevent rolling) and bake at 325°F (160°C) for 25-30 minutes. Immediately transfer to an ice bath.
Storing and Using Your Perfectly Boiled Eggs
Once your eggs are perfectly cooked and cooled, proper storage is essential to maintain their freshness and safety. You can store them for up to a week in the refrigerator. It's best to keep them in their shells until ready to use, as the shell provides a natural protective barrier against bacteria and odors from other foods.
Boiled eggs are incredibly versatile. Whether you’re making egg salad, deviled eggs, or just need a healthy snack, they are ready to go. They can be sliced onto salads, mashed for sandwiches, or simply seasoned with a pinch of salt and pepper for a quick protein boost.
Troubleshooting Common Boiled Egg Issues
Even with the best intentions and precise **boiled eggs time**, issues can sometimes arise. Here's how to troubleshoot common problems:
- Green Ring Around the Yolk: This is a common sign of overcooked eggs. The green-gray discoloration is harmless but indicates that the sulfur in the egg white has reacted with iron in the yolk due to excessive heat. The solution? Reduce your cooking time slightly and ensure you use an immediate ice bath.
- Difficult to Peel Eggs: This is often due to very fresh eggs. Fresher eggs have a tighter bond between the albumen (egg white) and the inner membrane. Older eggs (a week or two old) tend to peel more easily. Using an ice bath immediately after cooking is the most effective way to help with peeling, as the rapid cooling causes the egg white to shrink away from the shell. You can also try peeling them under cold running water.
- Cracked Eggs: As mentioned, this can be due to cold eggs going into hot water, or eggs bouncing too vigorously in the pot. Using room temperature eggs, lowering them gently, and maintaining a gentle simmer can help. Adding a teaspoon of vinegar can also prevent whites from escaping if a crack does occur.
Conclusion
Mastering **boiled eggs time** is a fundamental skill that elevates your cooking, transforming a simple ingredient into a consistent culinary delight. From the perfectly runny yolk to the firm, crumbly hard-boiled egg, precision in timing, coupled with a few simple techniques like the ice bath, ensures perfect results every time. Remember, the journey to the perfect egg is one of practice and slight adjustments based on your equipment and preferences.
Now that you're armed with this comprehensive guide, go forth and boil with confidence! What's your go-to boiled egg doneness? Do you have any secret tips for achieving the perfect peel or preventing cracks? Share your insights and experiences in the comments below! And if you found this guide helpful, don't forget to share it with your fellow food enthusiasts and explore more of our culinary guides for your kitchen adventures.
Boil of an Egg
:max_bytes(150000):strip_icc()/20455-boiled-chicken-4x3-0664-0151123403d8490ca4f082733b4ff1af.jpg)
Boil Chicken Breast
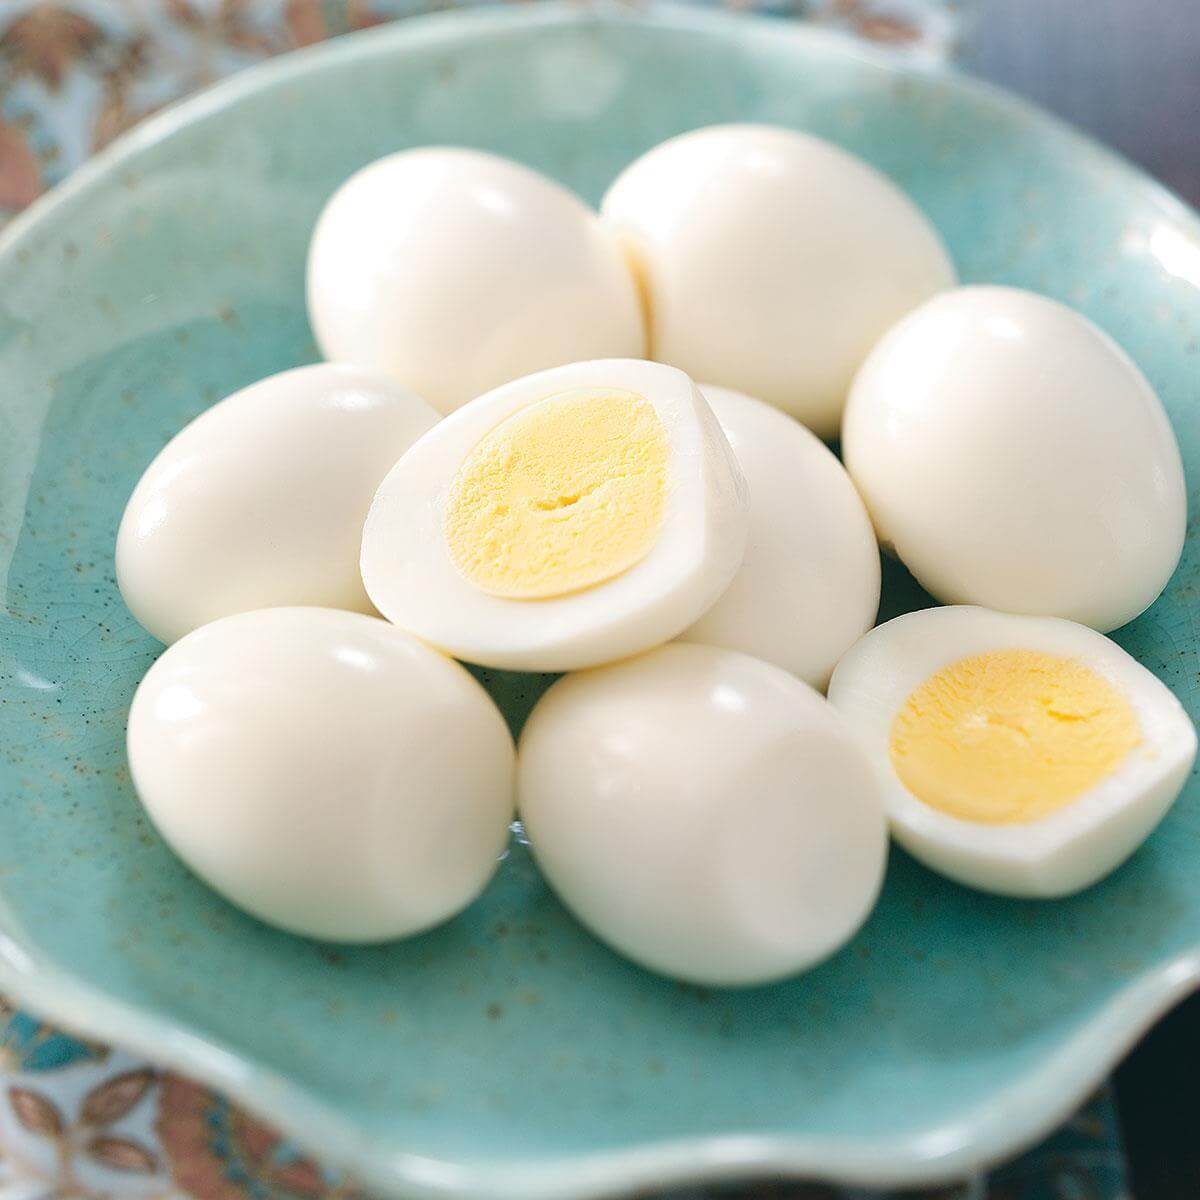
Hard-Boiled Eggs Recipe | Taste of Home
